
Welcome to the comprehensive guide on KitchenAid refrigerator repair manuals. This resource empowers users to diagnose and fix issues efficiently, ensuring optimal appliance performance and longevity.
1.1 Importance of Using Official Repair Manuals
Official KitchenAid repair manuals provide precise instructions, ensuring safety and compatibility. They include detailed diagrams and troubleshooting tips specific to your model. Using these manuals reduces risks of incorrect repairs and prolongs appliance lifespan. They are tailored to your refrigerator’s unique features, offering reliable solutions for common issues like temperature problems or faulty control boards.
1.2 Overview of the KitchenAid Refrigerator Repair Manual PDF
The KitchenAid refrigerator repair manual PDF is a comprehensive guide offering detailed troubleshooting, repair procedures, and maintenance tips. It includes diagrams, wiring schematics, and step-by-step instructions for diagnosing and fixing common issues. Designed for both DIY enthusiasts and professionals, the manual ensures safe and effective repairs, helping users maintain their appliance’s performance and extend its lifespan.

Where to Find the KitchenAid Refrigerator Repair Manual PDF
The KitchenAid refrigerator repair manual PDF can be found on the official KitchenAid website, model-specific pages, or authorized dealer sites, ensuring easy access for DIY repairs.
2.1 Official KitchenAid Website and Resources
KitchenAid’s official website offers a dedicated section for repair manuals, allowing users to download the PDF specific to their refrigerator model. This resource is reliable and updated regularly, ensuring access to accurate troubleshooting guides, diagnostic tools, and repair instructions. Additionally, the site provides customer support contact information for further assistance, making it a one-stop solution for all repair needs.
2.2 Model-Specific Repair Manuals and Guides
Model-specific repair manuals are tailored to individual KitchenAid refrigerator models, ensuring precise instructions for diagnostics and repairs. These guides, available on the official KitchenAid website, provide detailed schematics, troubleshooting steps, and replacement part lists. By entering your refrigerator’s exact model number, you can access a customized manual that addresses its unique features and potential issues, making repairs more efficient and accurate.

Common Issues Covered in the Repair Manual
Temperature fluctuations, faulty control boards, and malfunctioning sensors are common issues addressed in the manual.
Guides also cover diagnosing faulty relays and addressing electrical connectivity problems effectively.
3.1 Troubleshooting Refrigerator Temperature Problems
Troubleshooting temperature issues in your KitchenAid refrigerator involves checking sensors, control boards, and electrical connections. Ensure the defrost system is functioning properly and verify temperature settings. If issues persist, refer to the repair manual for detailed diagnostic steps and solutions to restore optimal cooling performance. Always follow safety guidelines when handling electrical components.
3;2 Diagnosing and Replacing Faulty Control Boards
Diagnosing a faulty control board involves checking for error codes, inconsistent temperature settings, and unresponsive displays. If the issue persists, refer to the repair manual for specific diagnostic procedures. Replacing the control board, such as the ACU board (W10219463), requires disconnecting power and carefully removing connections. Always consult the manual for model-specific instructions and ensure safety by disconnecting power before starting repairs.
Safety Precautions for DIY Repairs
Always disconnect power before starting repairs. Use proper tools and follow safety guidelines to avoid electrical shock or damage. Ensure all precautions are taken to protect yourself and the appliance.
4.1 Understanding Electrical Safety Risks
When performing DIY repairs, understanding electrical safety is crucial. Refrigerators contain high-voltage components that can cause severe injury or death if mishandled. Always disconnect the power supply before starting work. Be aware of live wires, capacitors, and control boards, as they may retain voltage even when the appliance is turned off. Use a multimeter to verify voltage absence and ensure safe working conditions.
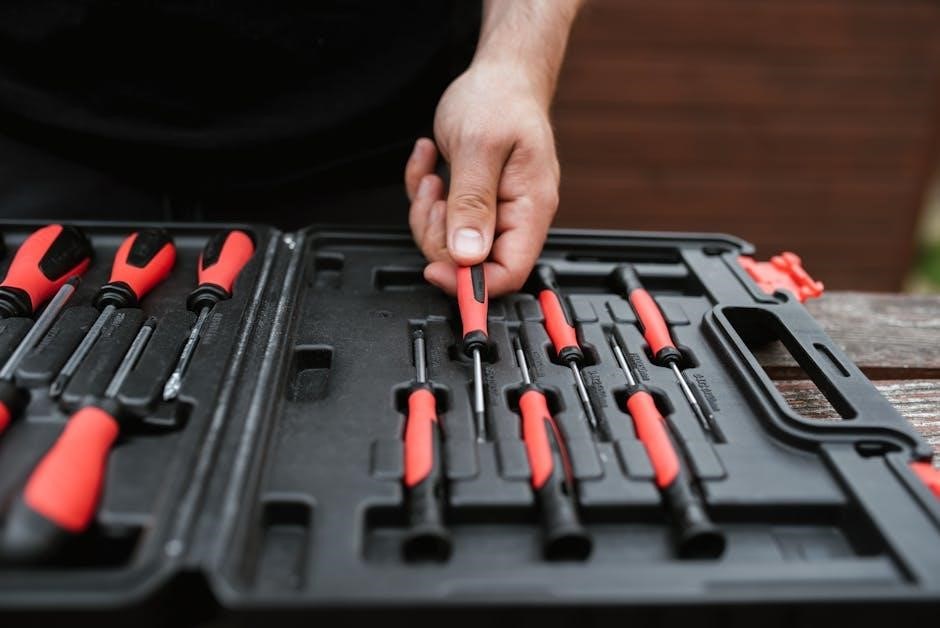
4.2 Proper Tools and Equipment for Refrigerator Repair
Having the right tools is essential for safe and effective refrigerator repairs. Common tools include Torx screwdrivers, nut drivers, and a multimeter for diagnosing electrical issues. A set of insulated hand tools can prevent electrical shocks. Always refer to the repair manual for specific tool recommendations tailored to your KitchenAid model. Proper equipment ensures accuracy and minimizes risks during the repair process.

DIY Repair vs. Professional Service
DIY repairs can save costs for minor issues, while professional services ensure safety and warranty compliance for complex problems. Choose based on your skill level and risk tolerance.
5.1 When to Attempt DIY Repairs
Attempt DIY repairs for minor issues like replacing faulty relays or upgrading lighting with LED tape. Ensure you follow the KitchenAid repair manual PDF and have basic tools. DIY is cost-effective for simple fixes, but avoid complex tasks like ACU board replacements without proper expertise. Always prioritize safety and refer to official guides to avoid further damage or electrical risks.
5.2 Knowing When to Call a Certified Technician
Contact a certified technician for complex issues like ACU board failures or refrigerant leaks. These problems require specialized tools and expertise. DIY attempts can lead to further damage or safety hazards. Always consult the KitchenAid repair manual PDF for guidance, and reach out to professional services when dealing with critical components to ensure proper resolution and appliance longevity.
Maintenance Tips to Prevent Future Issues
Regular cleaning and inspection of refrigerator parts ensure optimal performance. Check door seals, clean condenser coils, and inspect drain lines to prevent common issues and extend appliance lifespan.
6.1 Regular Cleaning and Inspection of Refrigerator Parts
Regular cleaning and inspection are crucial for maintaining your KitchenAid refrigerator’s performance. Clean condenser coils to improve efficiency, inspect door seals for tightness, and check drain lines for blockages. Dust and debris can hinder proper cooling, while worn seals may lead to temperature fluctuations. Schedule routine checks to identify and address potential issues before they escalate, ensuring your appliance runs smoothly and reliably over time.
6.2 Optimizing Refrigerator Performance
Optimizing your KitchenAid refrigerator’s performance involves adjusting temperature settings, ensuring proper door seals, and maintaining airflow. Keep shelves organized to enhance cooling efficiency and avoid overloading. Regularly check and replace worn door gaskets to prevent cold air leakage. Additionally, clean the condenser coils periodically to ensure proper heat dissipation. These practices help maintain consistent temperatures, reduce energy consumption, and extend the appliance’s lifespan, ensuring peak performance and reliability.

Common Replacement Parts and Accessories
KitchenAid refrigerators often require parts like the ACU board (W10219463) and LED lighting upgrades. These components enhance functionality and improve performance, ensuring your appliance runs smoothly and efficiently.
7.1 Identifying and Replacing the ACU Board (W10219463)
The ACU board (W10219463) is a critical component controlling your refrigerator’s functions. If faulty, it may cause temperature issues or display malfunctions. Replacing it involves disconnecting power, accessing the board, and installing a new one. Ensure compatibility with your model and follow safety guidelines to avoid electrical risks. Always refer to the official manual for precise instructions and diagrams.
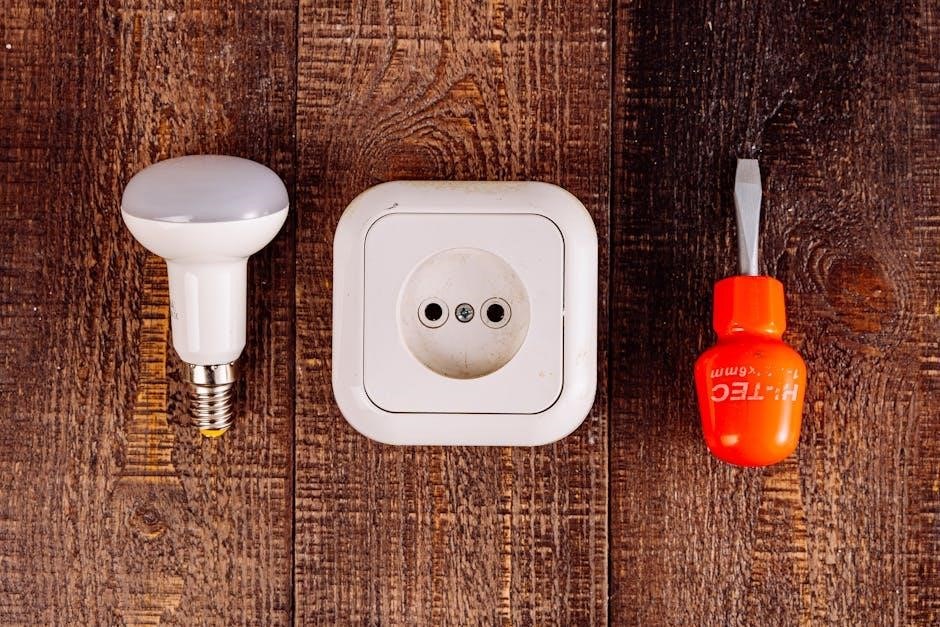
7.2 Upgrading Lighting with LED Tape
Upgrading your refrigerator’s lighting with LED tape enhances visibility and aesthetics. This cost-effective modification can be completed in about an hour. LED tape provides bright, energy-efficient illumination, making contents easier to see. Ensure compatibility with your refrigerator’s power source and follow safety guidelines to avoid electrical risks. Consult your manual for specific instructions and precautions to achieve a spectacular result.

Step-by-Step Guide for Basic Repairs
This section provides a detailed, easy-to-follow guide for common refrigerator repairs. From accessing internal components to replacing parts, it ensures a safe and effective DIY experience. Always use proper tools and ensure the appliance is unplugged before starting any repair to avoid risks.
8.1 Accessing Internal Components Safely
To safely access internal components, always disconnect the power supply before starting. Remove the panels using the correct tools, ensuring no wires or connections are damaged. Label components for easy reassembly. Wear protective gear and avoid touching sensitive electronics to prevent damage or electrical shock. Follow the manual’s guidance for specific access points and procedures.
8.2 Replacing Faulty Relays and Sensors
Begin by disconnecting the power supply to ensure safety. Identify the faulty relay or sensor using diagnostic procedures outlined in the manual. Disconnect wires carefully, noting their connections for proper reinstallation. Remove the faulty component and install the new one, ensuring secure placement. Reconnect wires and restore power. Test the appliance to confirm the issue is resolved. Always use genuine replacement parts for reliability.

Post-Repair Checks and Testing
After completing repairs, verify all functions to ensure proper operation. Check temperature settings, door seals, and electrical components. Monitor performance to confirm issues are resolved effectively.
9.1 Ensuring Proper Function After Repair
Post-repair checks are crucial to confirm functionality. Verify temperature accuracy, door seal efficiency, and smooth operation of all features. Ensure the appliance cools properly and maintains consistent settings. Check for any unusual noises or leaks. Test all buttons and displays to ensure they respond correctly. This step ensures your KitchenAid refrigerator operates safely and efficiently after repairs.
9.2 Monitoring Temperature and Performance
After completing repairs, monitor your KitchenAid refrigerator’s temperature settings to ensure they align with recommended levels. Check the display panel for consistent cooling performance and verify that the freezer and refrigerator compartments maintain proper temperatures. Regularly inspect the appliance’s operation to detect any unusual behavior or fluctuations. This proactive approach helps prevent future issues and ensures optimal efficiency and food safety.
Additional Resources for Advanced Troubleshooting
Explore online forums, repair communities, and KitchenAid’s official customer support for detailed troubleshooting guides and expert advice. Visit KitchenAid’s website for model-specific resources and contact their support team for personalized assistance. These resources provide in-depth solutions and tips for complex repairs, ensuring your refrigerator operates smoothly and efficiently.
10.1 Online Forums and Repair Communities
Online forums and repair communities offer valuable insights and solutions for KitchenAid refrigerator repairs. Websites like Reddit’s r/ApplianceRepair and specialized repair forums provide detailed discussions, troubleshooting tips, and DIY guides. Users often share experiences, including fixes for common issues like faulty ACU boards and temperature control problems. These platforms are ideal for finding model-specific advice and learning from others who have resolved similar issues successfully.
10.2 Contacting KitchenAid Customer Support
For direct assistance, KitchenAid customer support is accessible via their official website or by calling 1-800-422-1234. Ensure you have your appliance’s model and serial number ready for efficient service. Visit www.kitchenaid.com for resources or call 1-800-807-6777 in Canada. Representatives can provide repair guidance, confirm warranty status, or schedule certified technicians, ensuring your refrigerator issues are resolved promptly and effectively.
KitchenAid refrigerator repair manuals empower users with essential tools and knowledge for safe, effective DIY fixes, balancing safety and efficiency while ensuring appliance longevity and optimal performance.
11.1 Summary of Key Takeaways
This guide provides a comprehensive overview of KitchenAid refrigerator repair, emphasizing the importance of official manuals, common fixes like ACU board replacement, and safety practices. It highlights when DIY is suitable versus professional intervention, offers maintenance tips, and outlines post-repair checks. By following these steps, users can ensure their appliance runs efficiently, prolong its lifespan, and maintain reliability.
11.2 Encouragement for Safe and Effective Repairs
Embrace DIY repairs with confidence using official KitchenAid manuals and troubleshooting guides. Whether replacing the ACU board or upgrading lighting with LED tape, remember to prioritize safety and precision. For complex issues, don’t hesitate to seek professional help. By following these guidelines, you’ll extend your refrigerator’s lifespan and ensure reliable performance for years to come. Happy repairing!